Homemade Marshmallows: The Pillow-Soft Recipe That Rivals Store-Bought
Prepare yourself for a sweet revelation: once you taste homemade marshmallows, the store-bought variety might forever pale in comparison. Forget everything you thought you knew about these fluffy confections. We’re talking about a delicate balance of sweetness, a whisper of real vanilla, and a texture so unbelievably pillow-soft and airy, it’s like biting into a cloud. This isn't just a recipe; it's an experience – one that promises to elevate your dessert game to an entirely new level. For many, marshmallows are a nostalgic treat, often associated with campfires and hot cocoa. And while those convenient packaged versions certainly have their place for quick s'mores or simple Rice Krispie treats, they simply can't hold a candle to the fresh, melt-in-your-mouth wonder of homemade. Today, we're inviting you to step into a world of unparalleled sweetness and exquisite texture. You're about to discover why making marshmallows from scratch is not only rewarding but surprisingly achievable, even for those new to stovetop candy making.Why Homemade Marshmallows Reign Supreme: A Taste of Cloud Nine
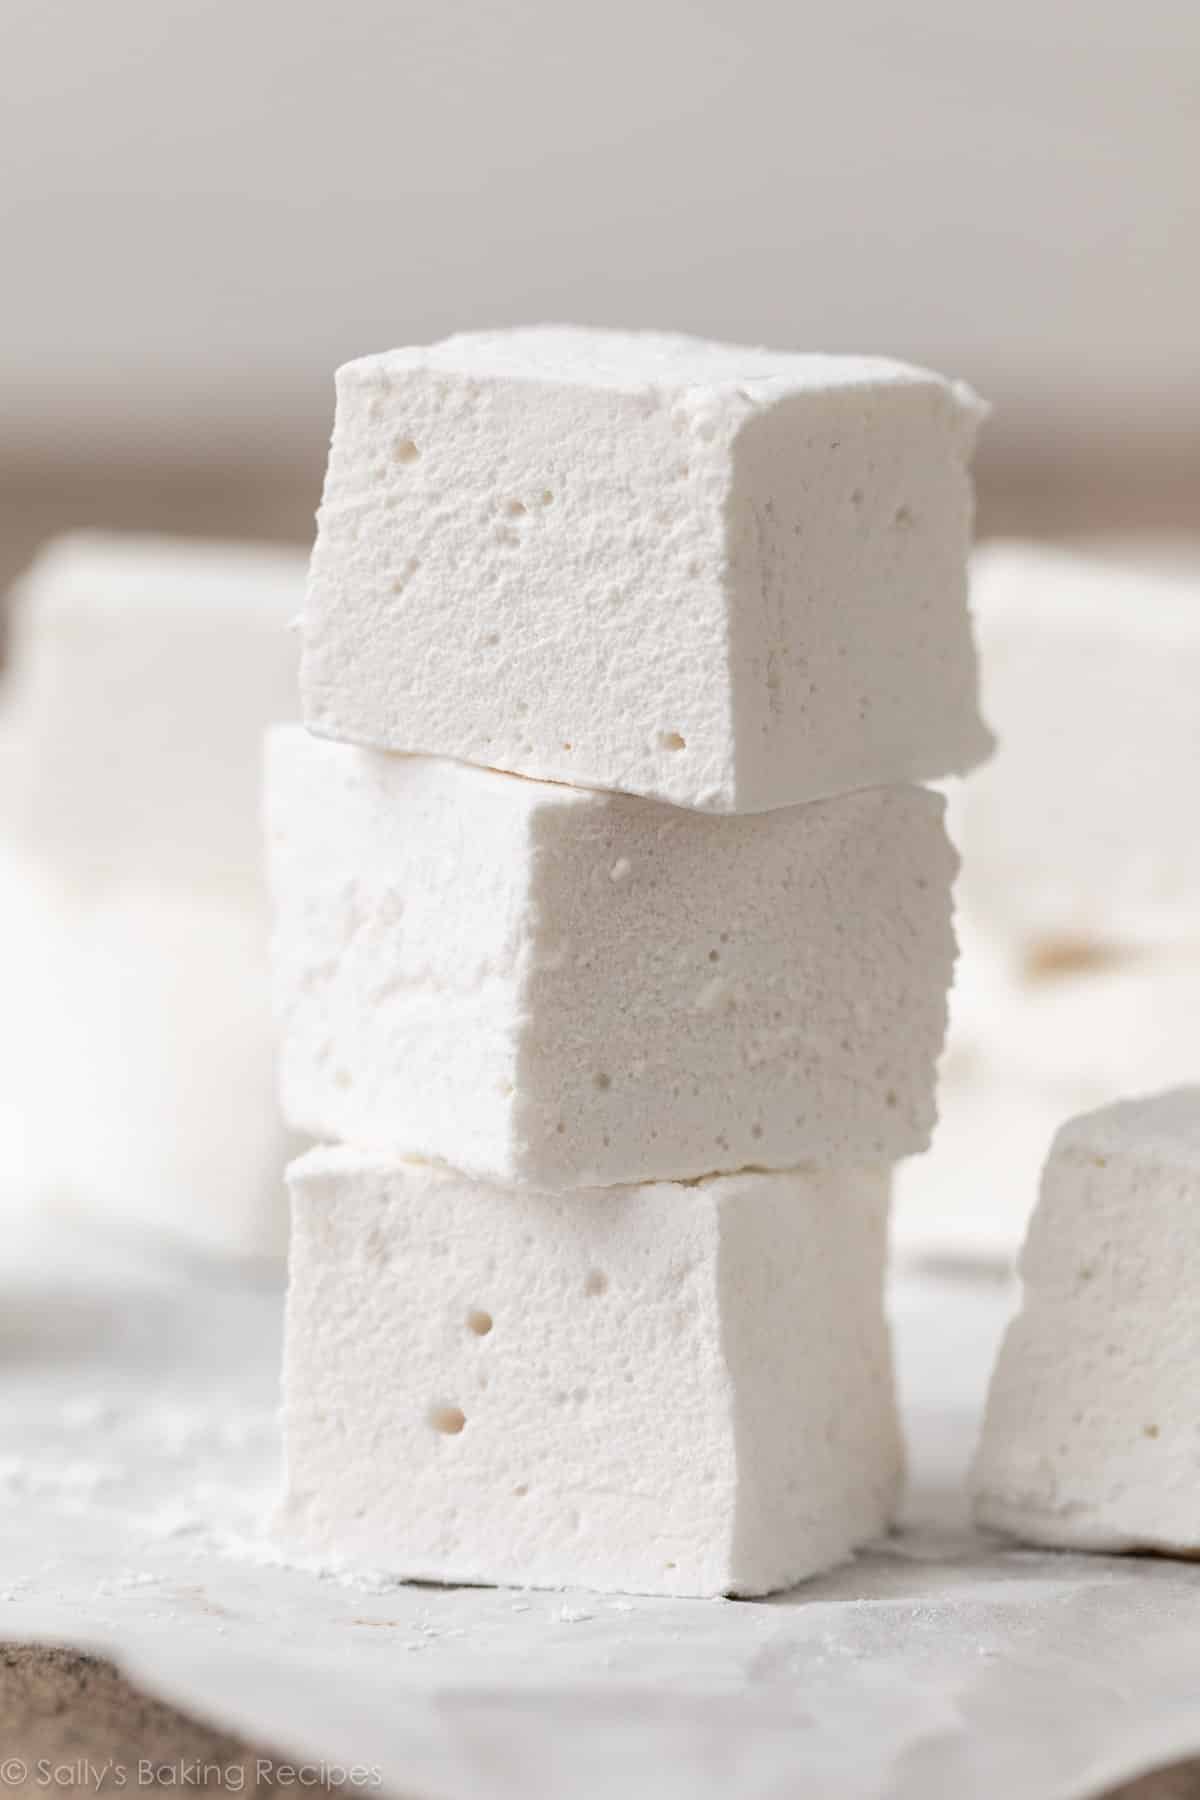
The difference between homemade and store-bought marshmallows is truly night and day. Imagine a marshmallow that doesn't just taste sweet, but carries a beautiful, nuanced vanilla flavor that sings on your palate. Picture a texture that isn't rubbery or overly firm, but rather incredibly light, airy, and so tender it practically dissolves the moment it touches your tongue. That's the magic of easy homemade marshmallows. Mass-produced marshmallows often rely on artificial flavors and stabilizers, resulting in a somewhat generic sweetness and a chewier, more uniform texture. Homemade versions, on the other hand, benefit from fresh ingredients and a careful whipping process that incorporates an abundance of air, creating that signature "pillow-soft" bounce. This makes them ideal for an array of uses, from floating in a rich mug of hot cocoa to taking your s'mores to gourmet heights. Even simply eaten plain, a homemade marshmallow is a pure delight, proving that sometimes, the simplest pleasures are the most profound.Gather Your Ingredients & Essential Tools for Marshmallow Perfection
Embarking on your homemade marshmallow journey requires a few key ingredients and some specific equipment. Don't be intimidated; while candy making might sound complex, with the right tools and a clear guide, success is well within reach.Essential Ingredients:
- Unflavored Gelatin (3 packages): This is the structural backbone of your marshmallows, providing that signature bouncy, yet tender, consistency.
- Granulated Sugar (1 1/2 cups): The primary sweetener, contributing to both taste and structure.
- Light Corn Syrup (1 cup): A crucial ingredient that helps prevent sugar crystallization, ensuring a smooth, non-grainy marshmallow. It also adds to the chewy, soft texture.
- Kosher Salt (1/4 teaspoon): A small but mighty addition that balances the sweetness and enhances the overall flavor.
- Pure Vanilla Extract (1 tablespoon): Opt for high-quality pure vanilla extract for the best flavor. This is where your homemade marshmallows truly shine, delivering a delicate, aromatic essence that's miles beyond artificial flavors.
- Confectioners' Sugar (for dusting): Essential for preventing stickiness and making the marshmallows easy to handle and cut.
- Water (1/2 cup cold, 1/2 cup room temperature): Used to bloom the gelatin and create the sugar syrup.
Key Equipment:
- Electric Mixer (Stand Mixer with Whisk Attachment): This is non-negotiable. Whipping the marshmallow mixture for an extended period is crucial for its volume and texture, and a stand mixer will save your arm and ensure consistent results.
- Small Heavy-Bottomed Saucepan: For cooking your sugar syrup. A heavy bottom helps distribute heat evenly and prevents scorching.
- Candy Thermometer: Absolutely essential for accurate temperature control. Achieving the correct syrup temperature (240°F / 115°C) is critical for your marshmallows to set properly. Don't guess here!
- Non-Metal Baking Dish (approx. 8x12 inches): A glass or ceramic dish is ideal. As mentioned in our source, a metal pan can impart an undesirable metallic aftertaste to your delicate marshmallows.
- Fine-Mesh Sieve: For generously dusting your pan and finished marshmallows with confectioners' sugar.
- Rubber Spatula: For scraping down the bowl and spreading the mixture.
The Step-by-Step Journey to Homemade Marshmallow Perfection
With your ingredients and tools at the ready, let's dive into the simple yet precise steps to create your luscious mastering homemade marshmallows.1. Bloom the Gelatin:
In the bowl of your electric mixer fitted with the whisk attachment, combine the 3 packages of unflavored gelatin with 1/2 cup of cold water. Give it a quick stir to ensure all the gelatin is hydrated, then let it sit undisturbed while you prepare the sugar syrup. This process, called "blooming," softens the gelatin granules, allowing them to dissolve smoothly later.
2. Prepare the Sugar Syrup:
In your small, heavy-bottomed saucepan, combine the 1 1/2 cups of granulated sugar, 1 cup of light corn syrup, 1/4 teaspoon of kosher salt, and the remaining 1/2 cup of water. Cook this mixture over medium heat, stirring gently until the sugar completely dissolves. Once dissolved, raise the heat to high. Insert your candy thermometer, making sure it doesn't touch the bottom of the pan. Continue to cook, without stirring, until the syrup reaches precisely 240°F (115°C). This is the "soft-ball" stage, crucial for the marshmallow's texture. Immediately remove the saucepan from the heat once it hits the target temperature.
3. Combine and Whip:
Turn your electric mixer on low speed. With the mixer running, carefully and slowly pour the hot sugar syrup in a steady stream into the dissolved gelatin mixture. Be cautious as the syrup is very hot. Once all the syrup has been added, increase the mixer speed to high. Whip the mixture continuously for about 12-15 minutes, or until it becomes incredibly thick, glossy, and marshmallow-y. It should be opaque white and have significantly increased in volume.
4. Add Vanilla:
During the last minute or so of whipping, add the 1 tablespoon of pure vanilla extract. Mix thoroughly until the vanilla is fully incorporated. The aroma alone will be heavenly!
5. Prepare the Pan & Pour:
While the mixture is whipping, generously dust your chosen 8x12-inch non-metal baking dish with confectioners' sugar using a fine-mesh sieve. Make sure the bottom and sides are thoroughly coated to prevent sticking. Once the marshmallow mixture is ready, pour it immediately into the prepared pan. Use a lightly greased rubber spatula or offset knife to gently smooth the top.
6. Dust & Set:
Generously dust the top of the marshmallow mixture with more confectioners' sugar. Leave the pan uncovered at room temperature for at least 6-8 hours, or ideally, overnight. This allows the marshmallows to "dry out" and set properly, making them much easier to cut and handle.
7. Cut & Enjoy:
Once fully set, turn the marshmallow slab out onto a large cutting board that has also been generously dusted with confectioners' sugar. Using a sharp knife or pizza cutter (you might want to lightly grease it with a neutral oil for easier cutting), cut the marshmallows into your desired squares or shapes. Roll each freshly cut marshmallow in more confectioners' sugar to coat all the sticky sides. And there you have it – your very own batch of homemade, pillow-soft delights!
Tips for Success & Common Pitfalls
While the process is straightforward, a few key considerations will ensure your homemade marshmallows turn out perfectly every time:
- The Candy Thermometer is Your Best Friend: Seriously, do not skip this. The exact temperature of the sugar syrup is paramount for the correct consistency. Too low, and your marshmallows won't set; too high, and they'll be too hard.
- Patience with Whipping: It takes time for the mixture to transform into fluffy marshmallow. Resist the urge to stop early. The long whipping time is what incorporates air and creates that airy texture.
- Don't Rush the Setting: Overnight is truly best. If you try to cut them too soon, they'll be overly sticky and difficult to handle.
- Embrace the Confectioners' Sugar: Be generous! It's your best defense against stickiness, both in the pan and after cutting.
- Avoid Metal Pans: As highlighted in the reference, metal can impart an unpleasant metallic taste. Stick to glass or ceramic.
- Storage: Store your finished homemade marshmallows in an airtight container at room temperature for up to 2-3 weeks. They tend to dry out a bit over time, but their flavor remains fantastic.
Beyond the Basic: Flavor Variations & Serving Ideas
Once you've mastered the classic vanilla, the world of easy homemade marshmallows opens up to endless possibilities!
- Coffee Marshmallows: Dissolve 1-2 teaspoons of instant espresso powder in the hot water for the sugar syrup for a sophisticated coffee flavor.
- Citrus Zest: Add the finely grated zest of an orange, lemon, or lime to the marshmallow mixture along with the vanilla for a bright, zesty twist.
- Peppermint: Substitute vanilla extract with peppermint extract for a festive treat, especially around the holidays. A drop of red food coloring can complete the look!
- Cocoa Marshmallows: Whisk 1/4 cup of unsweetened cocoa powder into the dry gelatin before blooming.
- Spice Them Up: Add a pinch of cinnamon, nutmeg, or cardamom with the salt for a warm, comforting flavor profile.
Beyond eating them plain, homemade marshmallows transform ordinary treats into extraordinary delights:
- Gourmet S'mores: Roasting these over a fire produces a superior, melty, golden crust.
- Hot Cocoa Upgrade: Float a few in your favorite hot chocolate for an instant upgrade. The real vanilla melts beautifully.
- Rice Krispie Treats: Melt these down for the most incredibly soft and chewy Rice Krispie treats you've ever had.
- Dessert Topping: Cut into mini marshmallows and sprinkle over puddings, fruit salads, or ice cream.
